What you will need for installation, this is based on the assumption these will be added to a stock T-Maxx, if other after market hop ups, or fasteners have been used this list will vary
- Quality #2 screwdriver
- 1.5mm hex driver
- Locktite
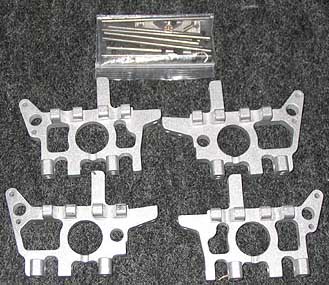
After receiving the Bulkheads, I gave them the once over, they looked very nice, and to be well made. They appeared to be machined to where weight was removed from them without sacrificing structural integrity. The hinge pins were included, and after checking them out, I noticed right away that that there were no grooves in the pins for e-clips. The pins are held in by two allen set screws for each pin, through the bulkhead. After checking everything out I was ready to start wrenching.
Installation:
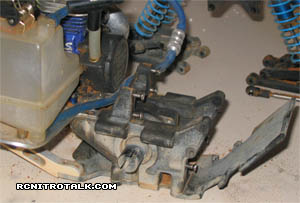
To begin the installation of the new bulks I first had to remove the old ones.
Remove the wheels and tires from the truck. The entire suspension assemblies can be easily removed from the chassis of the truck. Using a Phillips screwdriver remove the screws holding the skid plates to the bulks and chassis braces. Remove the four screws that hold the chassis to the top of the bulk, you will have to remove the engine in order to have access to these screws on the rear bulk. The complete assembly should now be able to be easily removed from the truck. Remove the bumper and brackets holding them to the bulks and remove the bulkhead braces. Remove the shocks from the truck. Then remove the four Phillips screws holding the shock towers to the bulkheads. Pull the two bulkheads apart and remove the diff, note the direction of the diff, if installed backwards they will fight against each other and cause the truck not to drive. Now your ready for the installation of the new bulks.
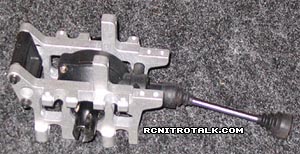
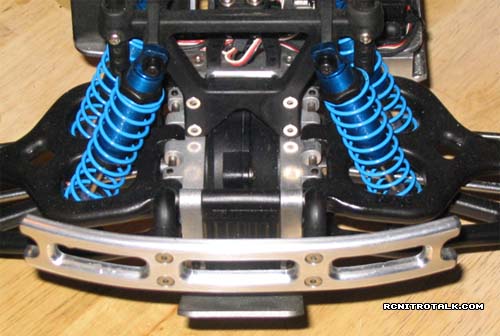
Begin by inserting the diff between the two front or rear bulkheads, making sure to put it back in the correct position. I then installed the bumper mounts only with no bumpers on them, to the bulks, in to the braces. This will help hold it together as you continue. Next I installed the lower a-arms using the supplied RC Solutions hinge pins, making sure to use locktite on the four 1.5mm allen set screws that hold the pins to the arms. This must be done prior to installing the skid as the skid will completely cover the lower arm set screws. Then install the skid, remember to locktite the screws since they are now going in to aluminum as opposed to plastic. Next I installed the upper arms with the supplied pins using locktite on those set screws. After this I reinstalled the knuckles, turnbuckles, drive shafts, and bumpers.
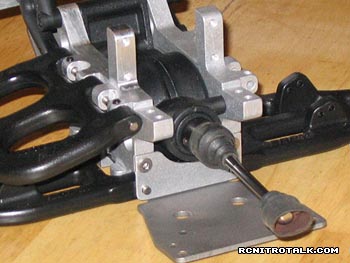
The front set of bulkheads include an extra bracket that adds extra support to both the bulkheads and hingepins.
Now that the complete assemblies are back together, just reverse the removal process and reattach the complete assemblies back to the chassis of the truck. Remember to use locktite anywhere a screw goes in to metal.

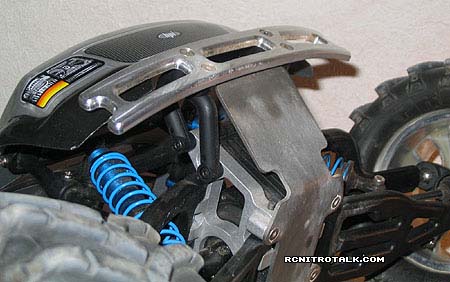
The finished product…
These bulkheads are very nice, a lot of thought has gone in to them. They are not just another copy of a stock bulk, or any of the other aftermarket bulks. Everything fit perfectly, and all the holes lined up perfectly.
The results:
Well after bashing the hell out of my truck at the Orlando bash, where I even bent a titanium skid, the bulks held up great! No damage at all to the bulks or hinge pins. I have been using them for a few months now with no complaints at all. I can and would honestly recommend these bulkheads to anyone looking for a great replacement for the weak stock plastic bulks. The RC Solutions guys have done a top notch job on these bulks!
Manufacturer: RC Solutions